When your motorcycle is sitting ‘cold’ on the driveway, after a night, the engine oil would be at the bottom of the sump according to the laws of gravity. And it’ll be unwise if you start the bike quickly and rev the throttle before that oil has had a chance to flow and lubricate the moving parts. So, yes, you should warm up your bike before heading out. Here’s what you should do:
- Allow the bike to warm up for at least 30 seconds before pulling off.
- Let the temperature indicator rise to the average operating level.
Before you take your motorcycle out for a ride, you should perform several pre-ride checks. The motorcycle pre-ride checks don’t take more than a few minutes. They can point out minor problems that could turn into some major ones. So, here is a list of essential pre-ride checks for your motorcycle.
1. Check tyres’ condition and pressure
2. Check motorcycle wheel bearings
3. Inspect and adjust motorcycle chains
4. Inspect motorcycle brakes
5. Adjust motorcycle controls
6. Check motorcycle cables
7. Test motorcycle lights
8. Check motorcycle electrical system
9. Clean and maintain motorcycle air filters
10. Check the motorcycle oil level
11. Check motorcycle fluids
12. Analyse motorcycle chassis
13. Check motorcycle suspension
14. Test motorcycle kickstand switch
Check tyres’ condition and pressure
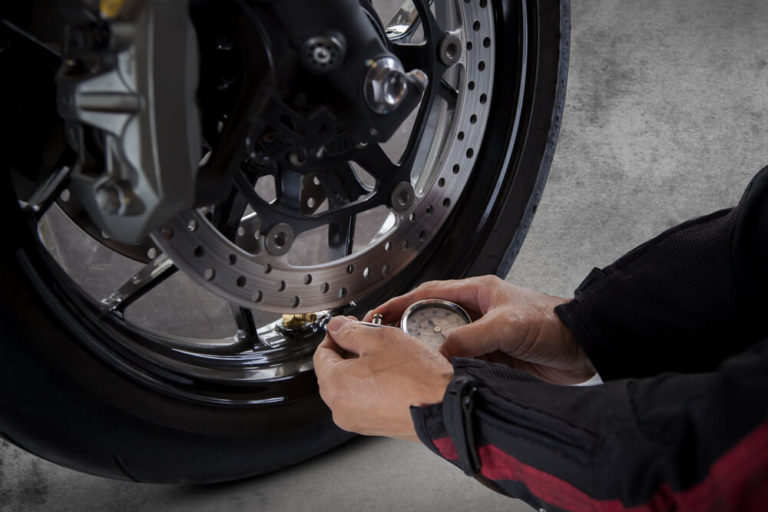
Checking the tyre pressures is a crucial element of motorcycle safety. Because an under-inflated tyre can affect the handling and braking, on the other hand, over-inflation of the tyre can reduce the contact patch’s size on the road, which will affect grip. But many of us either forget to check the tyre pressure or don’t even bother with it.
- Use a quality pressure gauge to check the tyre pressure accurately.
- Look for any bulge caused by damage from potholes and curbs.
- Check for how much tread is left on the tyres.
- Search for any foreign objects that you may have run over.
- Always check pressures when the tyres are cold.
Check motorcycle wheel bearings
If your motorcycle has spooked wheels, you should definitely check for missing or loose spokes before every ride. Because a loose spoke can lead to a bent wheel if not fixed.
- Search for signs that the wheels bearings are failing or grease has leaked past the seals.
- Make sure there is no side to side play in the bearings.
- Check whether the wheels roll freely or not.
- While the wheels are spinning, look for flat spots or wobbles. If you find any, that would indicate that the wheels aren’t aligned.
If your motorcycle has cast aluminium wheels and tubeless tyres, you may not have to periodically check and true them by going over every spoke by hand. However, cast alloy wheels can also go out of true due to potholes or minor accidents.
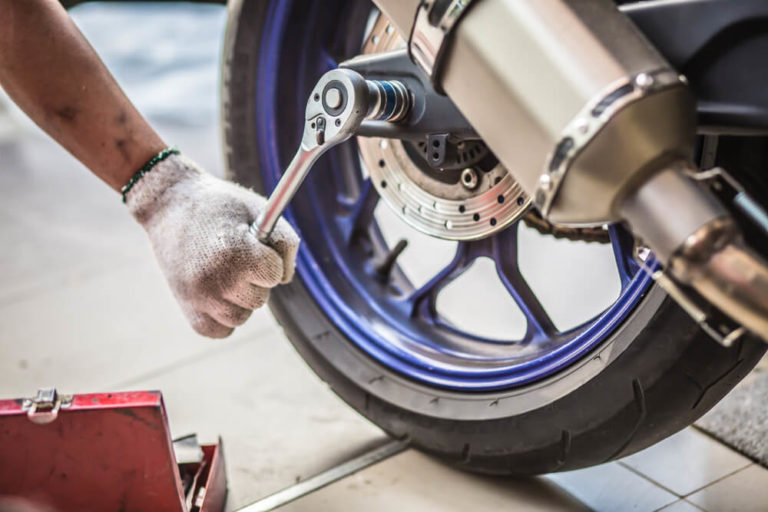
Inspect and adjust motorcycle chains
Incorrect chain tension can result in the gearbox and premature sprocket wear. A very loose chain may slip off the sprockets, become tangled and lock out the back wheel. And a very tight chain can wear and damage parts due to prolonged stress on it. Aside from these problems, a dry or rusty chain is also a risk to safe handling. So, here’s what you can do:
- Lift the back wheel using a centre stand and set the gears in neutral. This will make it easier to work on the chain.
- Check the tension on the motorcycle chain by placing two fingers under the lowest part of the chain and attempting to lift it. Typically, 1.5 inches of looseness indicates that the tension is right. However, you should always check your manual.
- Set the tension with some load on the bike because the chain will tighten up once you’re onboard the motorcycle.
- Use rear wheel nuts, adjustment screws and torque wrench to make necessary adaptations.
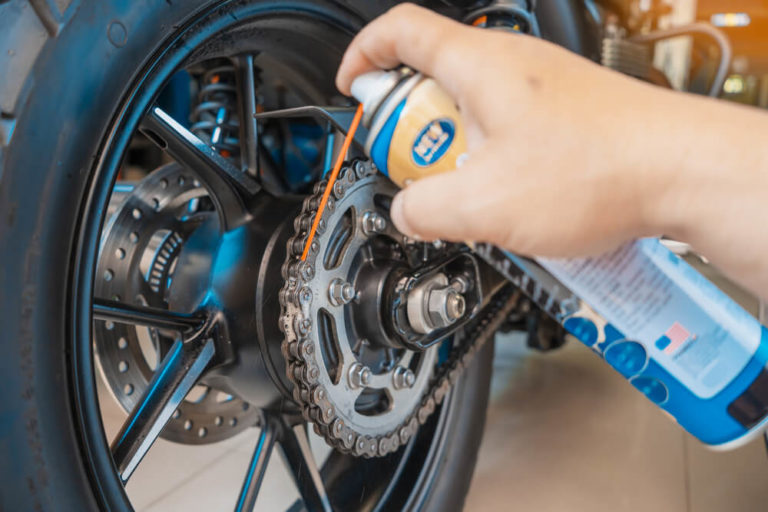
- Clean all the mud and dirt on the chain.
- Spin the rear wheel slowly and apply a good coating of chain lubricant oil suitable for your motorcycle.
Remember, you need to clean and lubricate the chains as often as you fill up the gas tank. It will prolong the life of its gearbox and allow the motorcycle to function properly even on uneven surfaces.
Inspect motorcycle brakes

After going over the wheels and chains, don’t forget to look at the brake discs and other hardware. You have to check the brake pads and brake fluids as well.
- Rotate the wheels while the bike is still on the centre stand and check the rotors for warping.
- Visually inspect the surface of the rotors for any scoring and glazing.
- If you see some light surface rust on the rotors, use brake cleaner to remove it.
- Check the thickness of the discs, calliper and brake pads. If they’re too thin, you need to change them. Follow the manual for the recommended thickness of these components and how to change them.
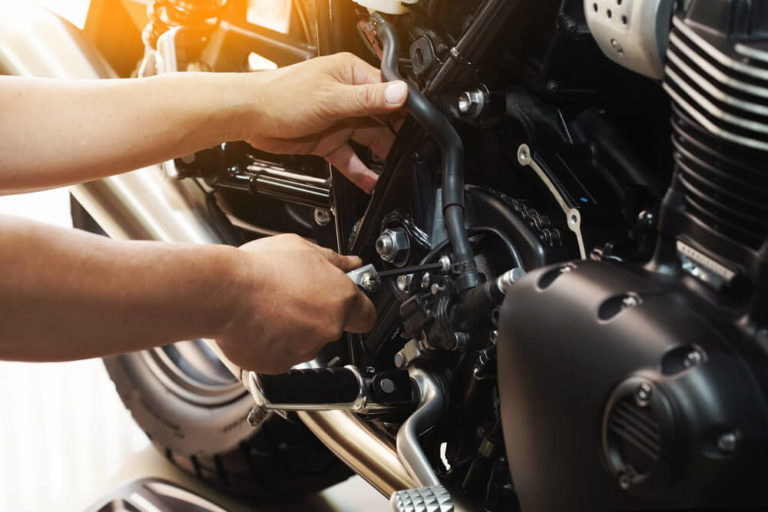
Adjust motorcycle controls
Motorcycles are performance machines designed to be ridden to the limit. So, most of them have a lot of adjustment built into them. Here are some simple ways to adjust the controls of your motorcycle as per needs and requirements.
- Examine the brake and clutch if they are functioning correctly.
- Check that they pivot freely and lubricated.
- Check for proper fluid level in the hydraulic systems.
- Look over the brake hoses for any cuts, swelling or pinches.
- Check the rear brake pedal.
- If your motorcycle has mechanical drum brakes, check for proper linkage adjustment as well.
- Check the clutch and throttle cables for smooth operation and adjustment.
Check motorcycle cables
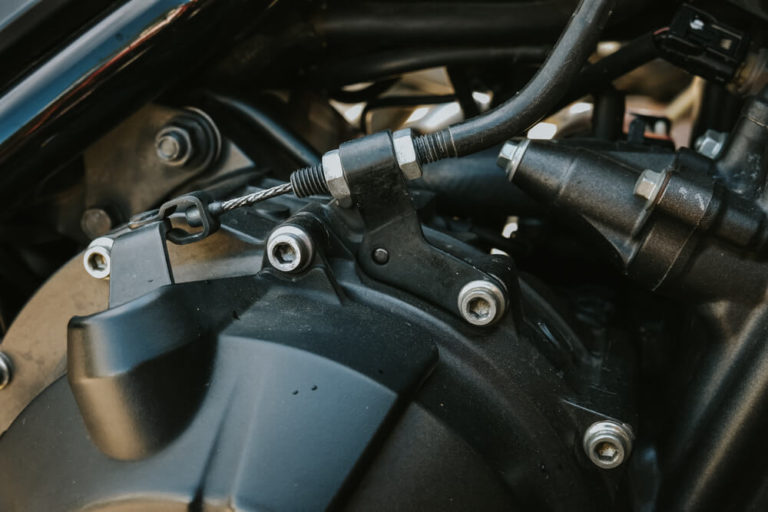
Modern motorcycles are using fewer cables these days, even for throttles. Make sure the cables are well lubricated with no kinks or pinches in the housing. You can detect any loose or damaged wires simply by visually inspecting your motorcycle. If you find any worn cables and termination points, you must replace them immediately. Adjusting your bike’s cables can give you a smoother, more responsive riding experience.
Test motorcycle lights
It is not an exaggeration to say that your brake/tail light has probably saved your life more times than you realise. So you should check it before every ride. You can quickly check the lights by starting the ignition and turning each light switches in turn.
- Check to see if the headlights and brake lights are functioning.
- Make sure that all the blinkers are operational.
- Examine if the reflectors are intact for optimum visibility in traffic and at night.
Check motorcycle electrical system
When you check the lights on your motorcycle, you should probably check the battery, too, because the last thing you’d want is a low battery signal when you are halfway home. So, you should check your motorcycle battery regularly.
- Check if the headlight gets brighter as you rev the motor.
- Examine the cables, clamps and connectors to make sure that they’re not damaged.
- Check that the vent tube is in place and routed properly.
- Look for any loose or pinched wires.
Clean and maintain motorcycle air filters
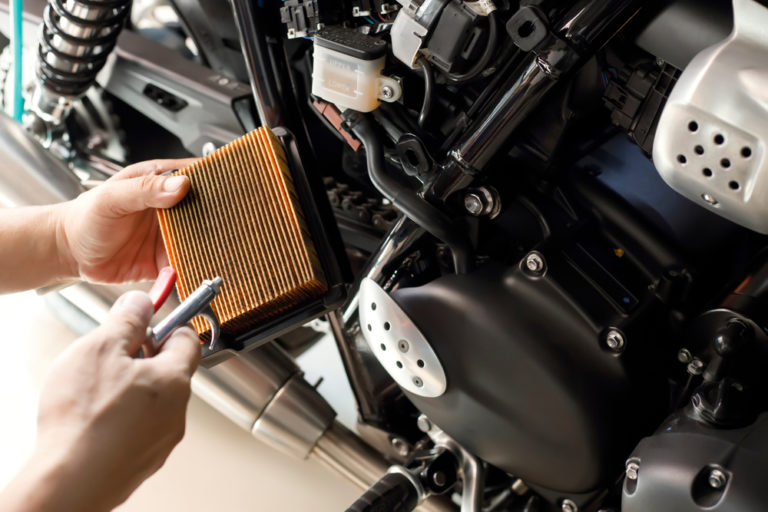
Air filters are one of the key parts that directly affect your motorcycle’s performance. A dirty or clogged air filter will make the throttle less responsive. It also diminishes the reaction greatly. So, you need to perform scheduled maintenance. Here’s how:
- Remove the filter.
- Wash it with kerosene.
- Dry it and then coat it with a light layer of engine oil.
Check the motorcycle oil level
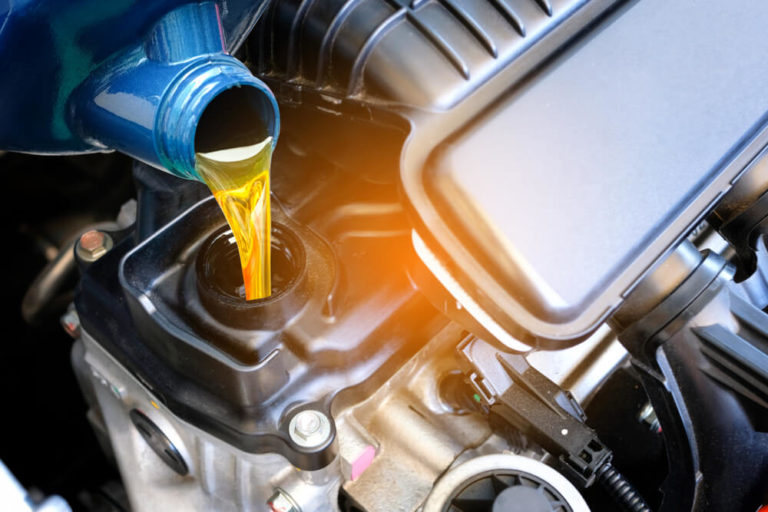
You should constantly check the oil levels in your motorcycle and keep it at an optimum level because low oil levels are disastrous for any bike.
- Use a dipstick to check oil levels.
- Look for signs of leaks under the bike.
- Add a little less oil than necessary. Don’t put too much oil into the engine.
- Use a proper oil filter.
- Change oil once every six months or every 2000 miles.
Check motorcycle fluids
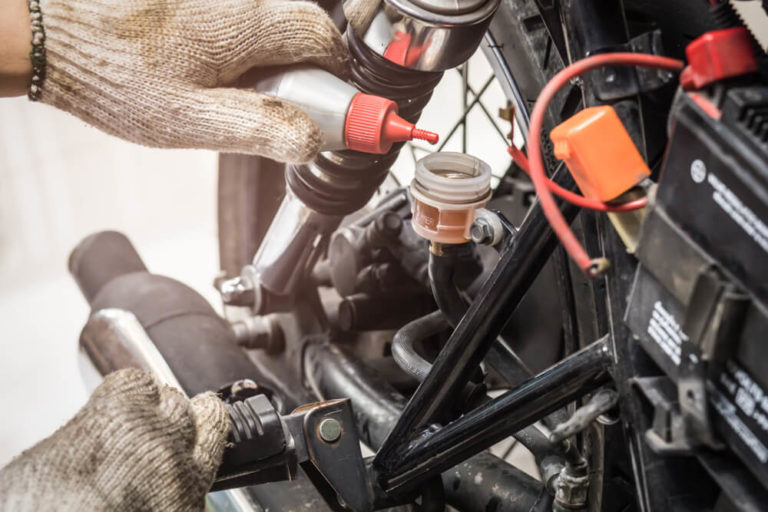
You’ve already tested the brake and clutch fluid with the controls. But you need to check the fluids on the cooling system and steering as well.
- If you have a liquid-cooled motorcycle, check the coolant level and fill it with clean water.
- If your motorcycle has a fuel gauge, physically inspect the amount of gas in the tank.
- Before riding a bike with a petcock, make sure it is set to “on” rather than “reserve,” and get gas if it is on reserve.
Analyse motorcycle chassis
Examine the frame of your motorcycle. If you find any areas where the paint has cracked or flaked, it’ll indicate that a structural crack is forming.
- Check the condition of the swing arm bushing by moving the rear wheel side to side.
- Look for missing nuts and bolts.
Check motorcycle suspension
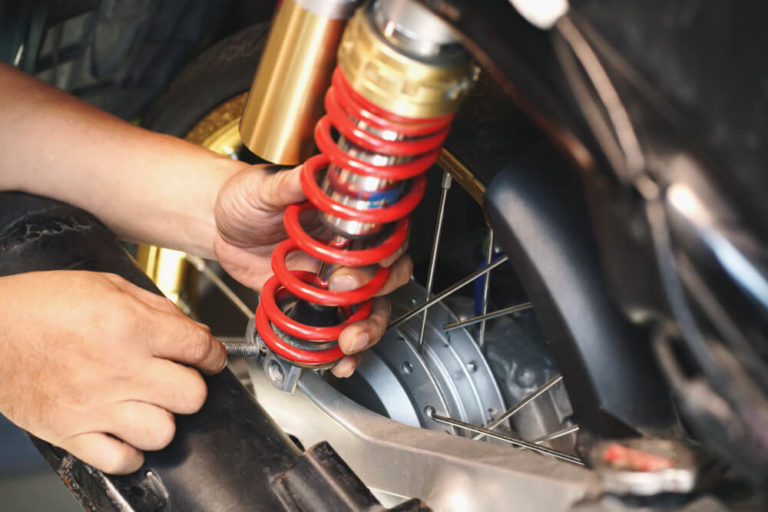
Correctly functioning suspension is critical to safety. Because having a stable suspension on your motorcycle means drama-free cornering. And a practised rider will be able to perform nice smooth cornering and can be faster as a result. So, you need to evaluate and adjust the suspension from time to time.
- Check damping front and rear by pushing the front down with the front brake and bouncing your weight on the seat. There should be firm resistance and a smooth, controlled rebound.
- Examine the rear suspension linkage and swingarm. If it’s dirty, then clean and re-grease it.
- Look for signs of blown seals. If you find any oil weeping past the fork seals, you’ll need to replace them.
- Inspect the surface of the fork’s internal legs for corrosion. You can easily remove slight imperfections with chrome cleaner or fine wet-and-dry paper if you detect any.
Test motorcycle kickstand switch
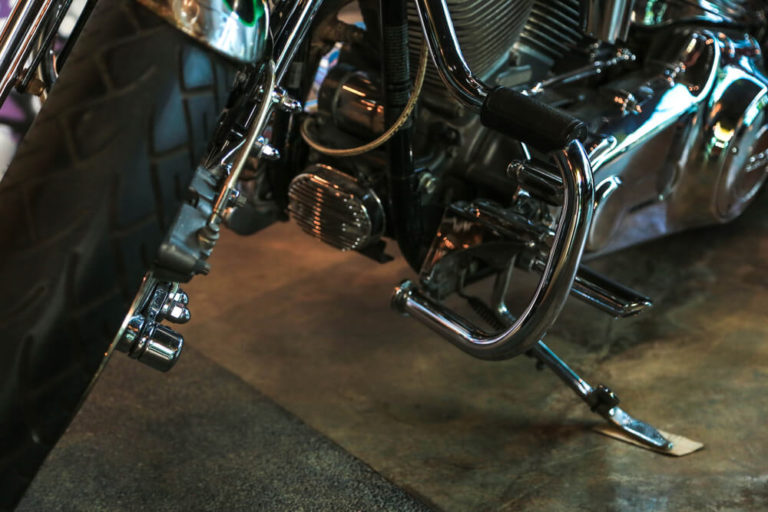
The last thing you need to check on your motorcycle every time you fold it up and ride off.
- Check that the side and centre stand fold back and stay in place securely with the spring.
- If your motorcycle has a side stand interlock, test the function by trying to put the bike into gear with the stand down (it should stall).
The aforementioned list may seem long and complicated, but once you go over the bike a few times, it will become your force of habit. And if you spend an extra few minutes on making these pre-checks, it’ll save you both the money and your life. However, aside from the regular checks, you need to get your bike booked in for a service once or twice a year.
You should give your motorcycle another inspection after parking it and turning it off. Use your eyes and hands to check as you did before the ride. Check for anything that may have come loose or started leaking.
- If you’ve been riding in the rain, you should clean and lubricate the drive chain while your motorcycle is still warm.
- Check the tension on the chain once again.
- After the engine has cooled, give your motorcycle a quick wash.
- Inspect your motorcycle for loose bolts, fasteners, fairings, leaks or broken parts.
Apart from the owner’s manual, there are few other sources to enrich your mechanical know-how about the motorcycle. You can attend classes or seminars. Many motorcycle dealerships, suspension shops and parts resellers offer different classes throughout the year. These classes are usually intended for the new riders or those just beginning to get their hands dirty. You can also check your local community college for automotive mechanic classes.
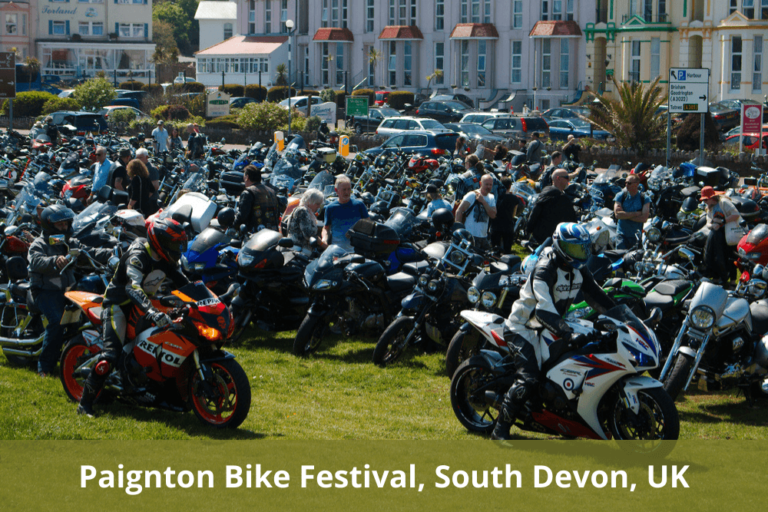
However, if you can’t find anything like this in your area, then the next best option is to travel to a motorcycle event that offers similar seminars all around the UK. The Biker Guide is the best way to find out about these events. Most motorcycle events and rallies have industry-leading professionals instructing workshops on a wide range of handy topics.
These can definitely cement the knowledge conveyed and instil confidence about repairing and maintenance of your motorcycle.
The internet is another powerful tool when it comes to learning. And you can find a staggering amount of information on motorcycle maintenance and repair online.
- You can watch motorcycle maintenance before attempting them yourself.
- Learn from other peoples mistakes.
- Pick up a few tricks to perform maintenance and repair quickly.
YouTube is a good starting point that has thousands of videos on motorcycle repairing and maintenance tasks. Many parts manufacturers use YouTube to host instructional videos as well. Facebook groups and forums are other comprehensive resources online where chances are someone has already diagnosed the same problem you are struggling with. Moreover, you can get some of the most valuable insights and specific information you’re looking for.
You can even take online courses to gain in-depth knowledge about motorcycle repairing and maintenance.


April 24, 2024