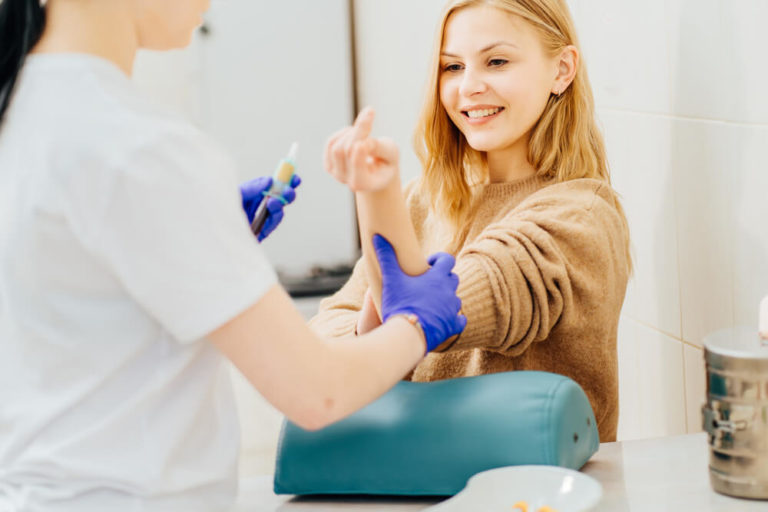
What Is a Phlebotomist?
The person who performs phlebotomy is a phlebotomist. Phlebotomists collect blood for donation or testing to analyse the collected blood in a clinical laboratory.
Phlebotomists take blood samples for testing. For example, blood samples may be required to learn more about a specific patient or research purposes. In addition, phlebotomists collect blood samples from donors for patients who need blood transfusions.

Although most blood is drawn from veins, phlebotomists must also be able to draw blood from capillaries. Therefore, when only a small volume of blood is required, capillary blood sampling is used. A phlebotomist can find a capillary blood sample on the finger, the heel, or the earlobe.
Other types of specimens handled by phlebotomists include urine, sputum, stool, and hair.
Step By Step Procedure for How a Phlebotomist Draws Blood
A Phlebotomist’s primary function is to take a blood sample from a patient. Patients are frequently frightened if this is their first time or if they have a fear of needles or doctor’s offices. To maintain uniformity and to make the patient comfortable, the phlebotomist must follow a step-by-step method. Here are the steps-
Step 1: Preparing the Work Area
First of all, make sure that your workspace is ready. Ensure that you have the necessary equipment as well as a clean and sterile environment.
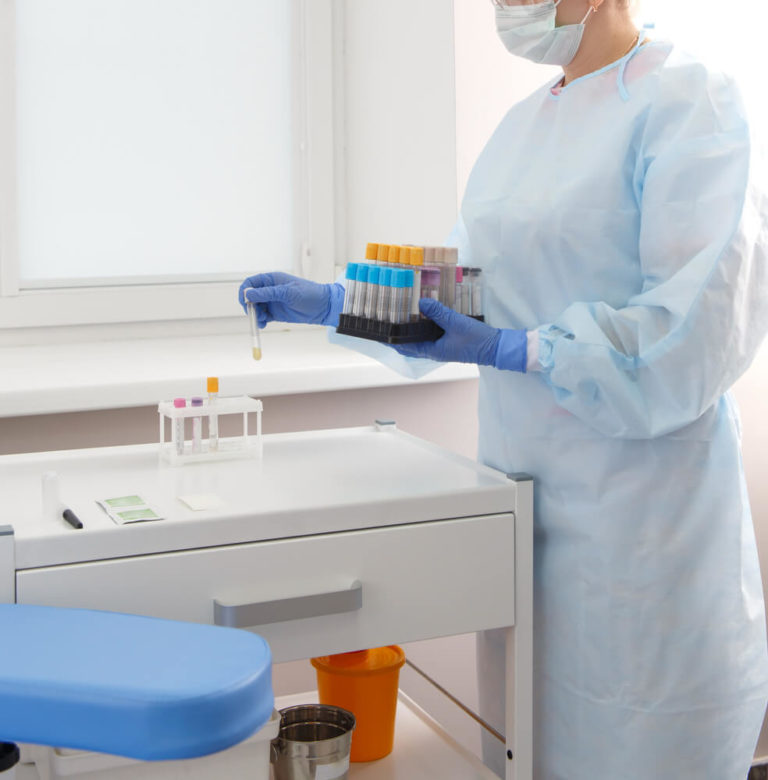
Ascertain that you have all the required tourniquets, vials, tubing, disinfectant, gloves, lab forms, and labels, as well as the appropriate phlebotomy tools before starting the experiment.
Step 2: Introduction to Patient
Introduce yourself to your patient. You may request the patient’s full name and birthdate to confirm the identity of the patient before continuing. Double-check that the name spelling is correct on the labels that have been created for the patient’s records.
Inquire about any allergies they may have. Inquire whether they have ever had a problem with the blood draw. Initials of the clinician should be printed on a tube label as well.
Step 3: Help the Patient be Prepared and Comfortable
Allow the patient to sit in the phlebotomy chair. Adjust the chair arm as needed so the elbow of the patient’s arm should not be bent. If required, use a pillow to provide support beneath the arm and place a clean piece of paper or a towel. Do not draw blood on a patient who is standing.
Then, examine the patient’s physical condition (i.e. diet, exercise, stress, basal state).
- If the test needs fasting, ask the patient if they are fasting (typically for at least 8 hours).
- If drug concentration monitoring (e.g., lithium, valproic acid) is mandated, ask the patient when they took the last pill.
Usually, blood is obtained right before the planned dose. Inquire whether the patient has ever had trouble having blood drawn, like a history of fainting or becoming ill.
Let the patient know that the phlebotomy procedure is likely to be unpleasant, but only for a brief time. Never remark, “This isn’t going to hurt at all.” Discuss the test that will be performed with the patient and gain verbal agreement. That’s because the patient has the right to refuse a test at any moment. So it’s critical to make sure the patient is aware of the procedure.
Also, if the patient is nervous or worried, reassure them and ask what they would like to do to feel more at ease. Make the patient as comfortable as possible (if possible). For instance, answering inquiries, being sensitive to the patient’s degree of anxiety, being gentle with technique.
Step 4: Maintain Hygiene
Wash your hands with soap and water and dry them using single-use towels. You can clean them with an alcohol rub – put 3 ml of alcohol rub in the palm of your hand and rub it into your fingertips, back of your hands, and all over your hands until they are dry.
Put on well-fitting, non-sterile gloves after conducting hand hygiene. Ensure hand hygiene before and after each patients procedure. Also, you need to do so before putting on gloves and after removing them.
Step 5: Find the Suitable Phlebotomy Site
You need to examine the patient’s arm by extending to see if there is a vein suitable for the treatment. Before applying the tourniquet, the vein should be visible, straight and easy to locate. If the vein is difficult to identify, you may ask the patient to make a fist and hold it.
If superficial veins are not visible, you may try the following –
- Stroking the arm from wrist to elbow
- Tapping the spot with index and second fingers
- Applying a warm, moist towel to the location for 5 minutes
- Lowering the extremity over the bedside to allow the veins to fill are all options.
Find a visible, straight, and clear vein of a good size. The median cubital vein is located between the muscles and is the easiest to puncture. Puncturing the basilic vein exposes an artery and a nerve, posing the danger of injuring the nerve or artery and being more painful.
Do not insert the needle where veins diverge, as this raises the risk of a haematoma. Instead, re-examine the vein after applying the tourniquet 4–5 finger-widths above the phlebotomy site.
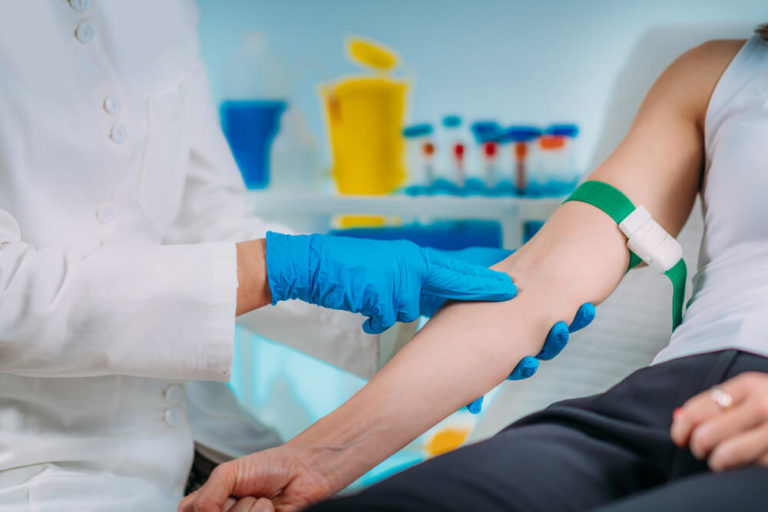
Step 6: Apply the Tourniquet
Apply the tourniquet about 3-4 inches above the puncture spot. Do not overstretch or leave on for more than 2 minutes (and no more than a minute to avoid increasing risk for hemoconcentration). If it’s necessary, reapply the tourniquet after a 2-minute wait.
Step 7: Disinfect the Phlebotomy Site
Clean the location with a 70% alcohol swab for 30 seconds. Leave to dry properly unless taking blood cultures or preparing for a blood sample. Failure to allow enough contact time increase the risk of contamination.
Don’t touch the cleaned area, and don’t guide the exposed needle shaft with a finger over the vein. If the area is touched, you have to disinfect it again.
Step 8: Collect the Blood
Then hold the patient’s arm and place a thumb below the phlebotomy site to anchor the vein. The patient should make a fist with his or her hand without pumping it to draw attention to the veins.
Place the needle at a 15° to 30° angle to the arm’s surface. Quickly insert the needle through the skin and into the vein’s lumen at a 30° angle or less, then continue to introduce the needle along the vein at the most convenient angle of the entrance. Also, try to avoid excessive probing and trauma.
Step 9: Remove the Tourniquet
Release the tourniquet before removing the needle if enough blood has been obtained. Also, the tourniquet should be removed as soon as blood flow has been established and never after two minutes.
Step 10: Fix the Wound Area
Fix the wound with clean gauze or dry cotton-wool ball after carefully withdrawing the needle. And provide mild pressure to the spot. As the patient holds the gauze or cotton wool in place, extend and lift his or her arm. Ask the patient not to flex his or her arm because this will result in a haematoma. Press down on the gauze with enough pressure to prevent a hematoma from forming. You may use sterile tape to keep the area secure.
Step 11: Fill the Laboratory Sample Containers
Use evacuated tubes with a needle and tube holder to extract numerous tubes of blood. Fill the tubes directly with this technology.
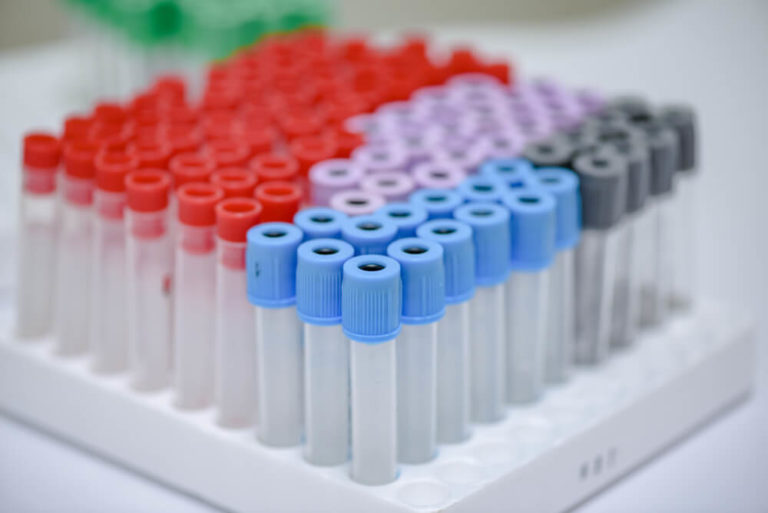
You may use a syringe or a winged needle set instead if this system isn’t available. If you’re using a syringe or a winged needle set, it’s better to put the tube in a rack before filling it. Fill the tube with one hand, or place a needle shield between the needle and the hand holding the tube to avoid needle sticks. Then, mix and label all necessary tubes.
Step 12: Prepare Samples to Deliver to The Laboratory
Place laboratory samples in a leak-proof plastic bag with a compartment on the outside for the laboratory request form. Place the requisition on the exterior to avoid contamination. To prevent breaking during transportation, stack many tubes on a rack or padded holder. Then, deliver specimens to the lab as soon as possible.
Step 13: Dispose of the Used Staffs
After that, dispose of all needles and collection devices in an appropriate biohazard bin. Also, dispose of contaminated materials or supplies in appropriate containers.
Step 14: Finish the Phlebotomy Procedure
To finish up the Phlebotomy procedure, you can do the following
- Examine the patient’s condition.
- Before letting the patient stand and go, double-check that he or she is okay.
- Offer food or juice if it is possible.
- Rewash your hands and make sure the area is clean.
Conclusion
The veins serve as the primary source of blood for laboratory testing purposes. Therefore, it is necessary to perform the phlebotomy procedure to maintain venous integrity. In addition, the phlebotomist has to perform the phlebotomy procedure by preserving the safety of the patient and the phlebotomist.
If you want to know more about a phlebotomist and his/her work procedure, click here


December 29, 2023